Web Paywalls
How to use RevenueCat Paywalls on the web
You can use RevenueCat Paywalls as part of a web purchase flow in a hosted Web Purchase Link, or directly from your own experience using the purchases-js SDK. RevenueCat's Paywalls allow you to remotely configure your entire paywall UI without any code changes.
The paywall experience on web
Paywalls on web mostly behave as they do on mobile platforms, with some exceptions or additional considerations:
Screen sizes
When presenting a paywall on web, you should expect it to be displayed in a greater variety of screen widths. You can use the tablet layout views in the editor to ensure users have a better experience on larger screens.
Mobile platform functionality is hidden
Elements like the restore purchases link don't have a web equivalent, and are therefore not shown on web.
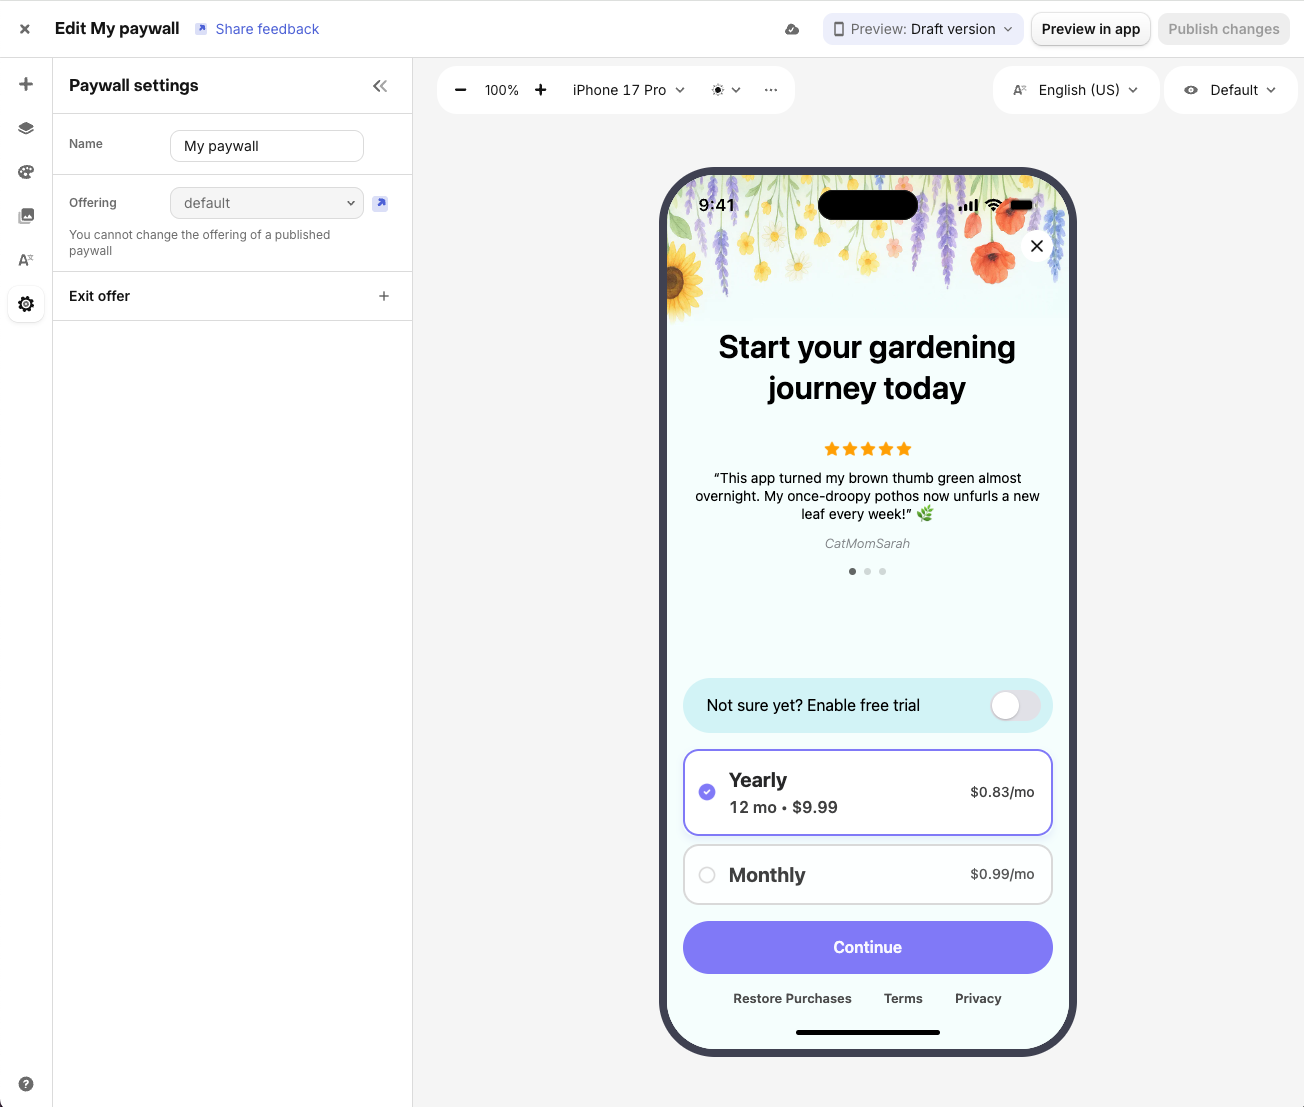
Creating a paywall
Follow the instructions in Creating Paywalls to build your paywall using the available components, either from an existing template or from scratch.
Using a paywall in a Web Purchase Link
Web Purchase Links are a hosted purchase flow that allow you to sell products on the web without code. They include three steps:
- Package selection
- Checkout
- Post-purchase (either the built-in success page or a custom redirect)
They offer two alternatives for the package selection step:
- Default package selection: Offers a simple design, with minimal configuration. Lightweight brand customization can be configured (see Customization)
- Custom paywall: Allows full customization, branding and layout. Can be used consistently between iOS, Android and Web.
How to configure a custom paywall:
- Create and configure a web purchase link if you haven't already (see Creating a Web Purchase Link)
- Create a paywall (see Creating a paywall), and add it to the same offering used in your web purchase link
- Edit the web purchase link, and change the Paywall option to use your custom paywall:

If you already have a paywall published on the offering, when you create a web purchase link for that offering, it will use the paywall by default.
- Test the web purchase link in your sandbox environment (see Testing Web Purchase Links)
The paywall should be presented as the package selection step, allowing you to select any of the available web products and proceed through the web checkout and success pages.
Presenting a paywall from the Web SDK
The purchases-js SDK can host and manage the complete paywall experience via the presentPaywall method. This call renders the paywall, handles the purchase flow, and resolves once control returns to your app.
const targetElement = document.getElementById("show-paywall-here");

purchases
  .presentPaywall({
    htmlTarget: targetElement,
    // offering: optional offering to be used. If omitted, the current offering is used.
  })
  .then((purchaseResult: PurchaseResult) => {
    console.log("Purchase successful!", purchaseResult);
  })
  .catch((err: Error) => {
    console.error("Error presenting paywall", err);
  });
If you do not pass an offering, the paywall for the offering marked as current will be shown. Passing an offering allows you to present another paywall that is available to the customer.
Adding Apple Pay or Google Pay buttons to a web paywall with the express checkout component
Web paywalls support the Express checkout component, which allows users to purchase using Apple Pay or Google Pay directly from the paywall. This makes the purchase experience on mobile devices faster, more seamless, and similar to the native app experience.
You can configure Express checkout by adding the Express checkout and Wallet components in the Paywall Editor. For more information, see Express checkout components.
FAQs
How does the express checkout present a purchase button to users? The component will render either an Apple Pay or Google Pay button, depending on what's supported by the user's device and browser.
What's the experience for users who purchase through the express checkout button? If users select the express checkout button, the device's native prompt is shown immediately to capture payment, and the standard Web Billing checkout is skipped entirely.
What product and pricing features are supported? All Web Billing product types and pricing models are supported, including free trials, introductory offers. Redemption Links are also supported for app2web deep links.
Can users still purchase through the standard checkout? Yes, as a fallback, users have the option to complete their purchase with the full checkout, if they prefer to use a different payment method or customize their billing details. The secondary button included alongside the express purchase button allows this.
How is sales tax & VAT handled for users who purchase in this way? If you have automatic tax handling enabled in the web billing config, the billing address from the wallet payment method will be used to determine the user's tax location. Subscribers have the ability to modify this in the device's payment UI.
Can users who purchase through the express checkout change their payment method later? Yes. After purchasing, subscribers can still update their payment method and manage their subscription through the Customer Portal
How are errors handled in the express checkout flow? Any errors related to the payment are reflected in the native payment UI on the device, or in some cases users can be redirected to an error page.
Troubleshooting Apple Pay and Google Pay visibility
In order to present either an Apple Pay or Google Pay button on a web paywall, the following should be true:
- Apple Pay or Google Pay are configured within your Stripe account, and your purchase domain is registered (see how)
- Both the device and browser are configured to use the payment method (in some cases this means having a registered credit card on file)
For further troubleshooting, we recommend using Stripe's test page for wallets to make sure the payment methods are rendering in the Express Checkout Element demo, and check browser-level settings.
For Apple Pay, read Apple's device compatibility and region compatibility guides to make sure the service is available to you.