Stripe Billing
Sell Stripe Billing products in RevenueCat Web
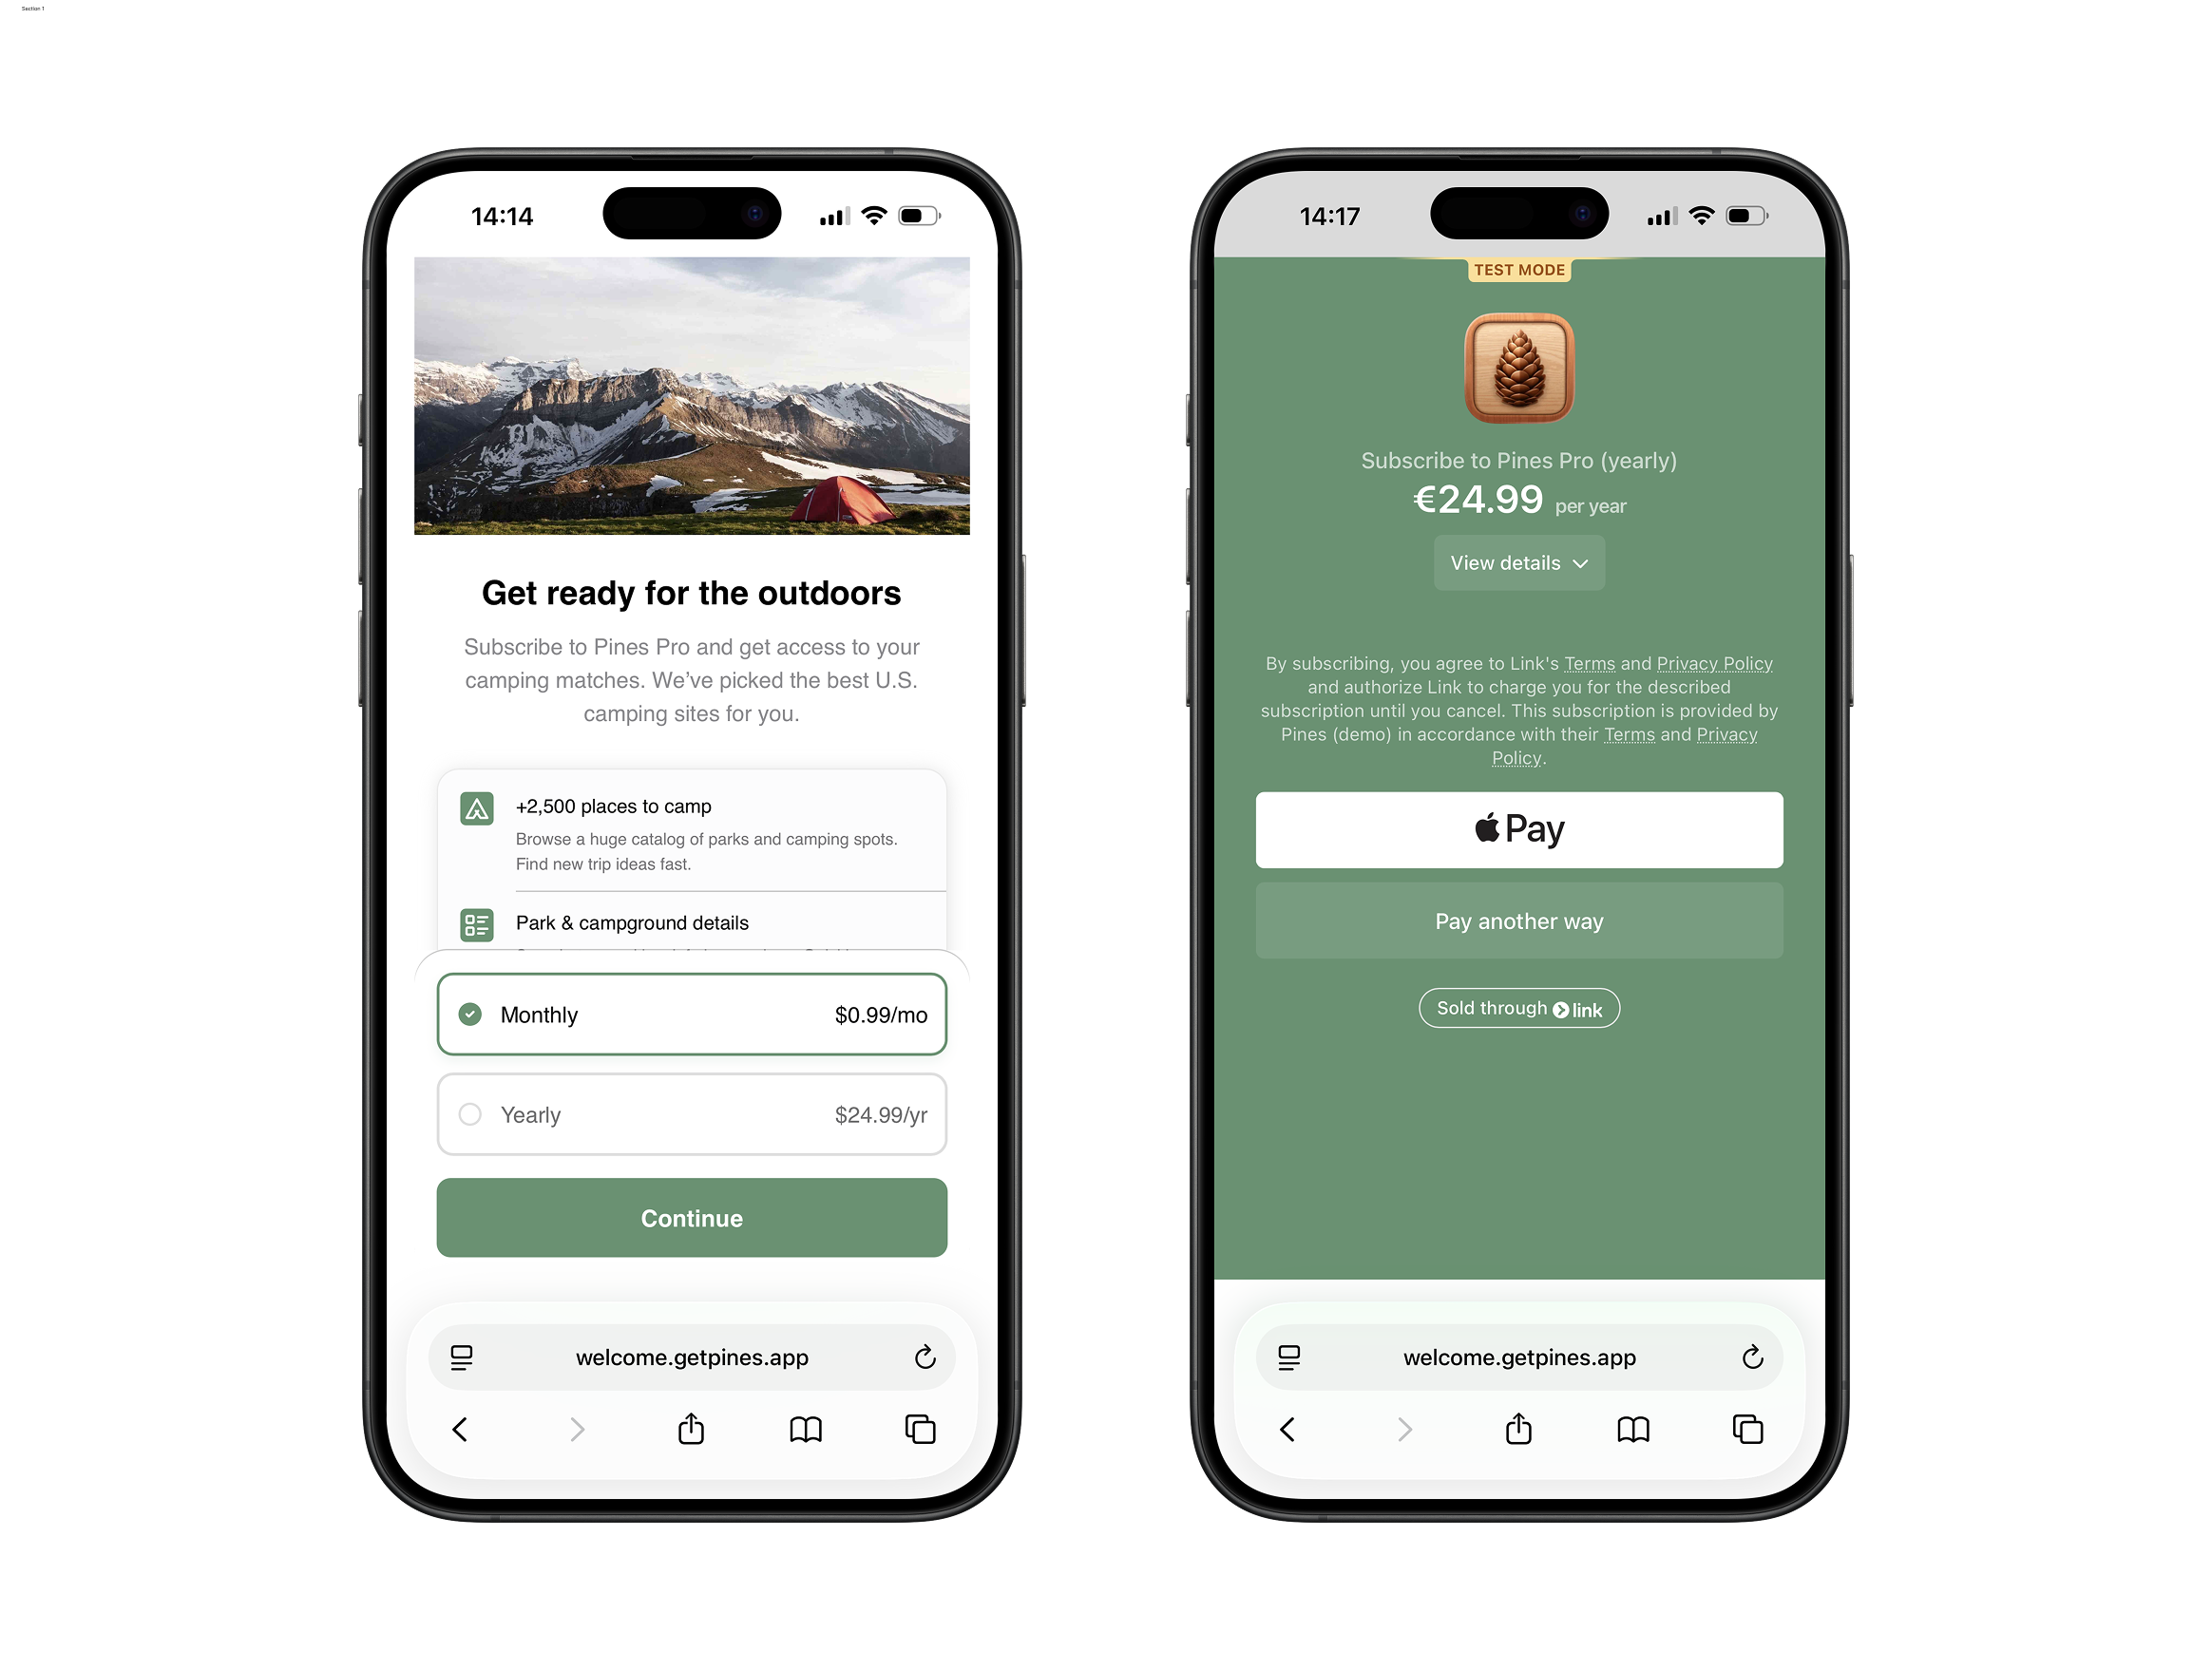
RevenueCat integrates with Stripe Billing, allowing you to sell Stripe products and subscriptions through RevenueCat's Web purchase flows.
With this integration, you can:
- Sell Stripe Billing products and subscriptions via RevenueCat's hosted Web Purchase Links
- Build flexible web to app funnels with Web Funnels, and use them with a Stripe checkout
- Integrate RevenueCat's Web SDK to handle Stripe Billing purchases in your web app, and unlock entitlements on mobile
- Build and A/B test RevenueCat's web paywalls connected to a mobile-optimized Stripe Checkout
- Import Stripe Billing purchases that happen outside of RevenueCat, and unlock feature access with the RevenueCat SDK in your mobile app. (see Importing external purchases).
Before configuring Stripe Billing, be sure to review the compatibility notes below.
This page is the canonical setup reference for Stripe Billing provider configuration, product import, external purchase tracking, and sandbox setup. Use Connect to your Stripe account for shared Stripe connection details that also apply to RevenueCat Billing.
RevenueCat feature compatibility
| RevenueCat Feature | Compatibility |
|---|---|
| Importing external purchases | ✅ Supported |
| Web SDK | ✅ Supported |
| Web Purchase Links | ✅ Supported |
| Web Paywalls | ✅ Supported |
| Web Funnels | ✅ Supported |
| Redemption Links | ✅ Supported |
Stripe feature compatibility
| Area | Notes |
|---|---|
| Pricing models | Only per-unit and recurring quantity plans are supported. Tiered, usage-based, and customer-chooses pricing are not. Price type changes are also not supported after import: once a Stripe price is imported into RevenueCat, its price type cannot be changed. |
| Payment methods | Asynchronous payment methods that settle off-session — bank debits (us_bank_account, sepa_debit, acss_debit, au_becs_debit, bacs_debit, nz_bank_account, pay_by_bank), bank transfers (customer_balance, multibanco), and cash vouchers (boleto, konbini, oxxo) — are not supported in RevenueCat purchase flows. Other payment methods can be enabled and managed within the Stripe dashboard. |
| Revenue calculations | Prorated amounts from upgrades and downgrades are not factored into MRR or Revenue. Disable proration in Stripe or pass prorate=false for accurate figures. |
| Cancellations | Both immediate and end-of-period cancellations are supported. MRR/Revenue is only accurate for immediate cancellations when proration is disabled. Cancellations may take up to two hours to reflect in RevenueCat. |
| Billing issues | RevenueCat generates a billing issue event once when payment fails. No new events are created for subsequent retry failures. Configure retry behavior and failure handling under Settings > Billing > Subscriptions and email > Manage failed payments in Stripe. |
| Subscription management | All subscription management (cancellations, plan changes, receipts) is handled via the Stripe Customer Portal. The RevenueCat Billing Customer Portal does not apply. |
| Emails | All transactional emails are sent by Stripe, with the exception of the redemption email (see Redemption Links), which is always sent by RevenueCat. |
| Free trials | Supported. Configure the trial duration (1-730 days) when importing a Stripe subscription product, or on the product details page. A payment method is collected at checkout; Stripe begins the trial and charges the card when it converts to paid. Free trials from external Stripe purchases continue to be reflected accurately in RevenueCat Charts and customer events. |
| Test Clocks | Stripe Test Clocks are not fully supported. Time divergences between Stripe and RevenueCat may cause data to be inaccurate. |
1. Connect your Stripe account
Only the owner of the RevenueCat project can connect a Stripe account. Collaborator roles aren't able to add or remove a Stripe connection.
Log in to the correct Stripe account
If you don't have a Stripe account yet, create one now.
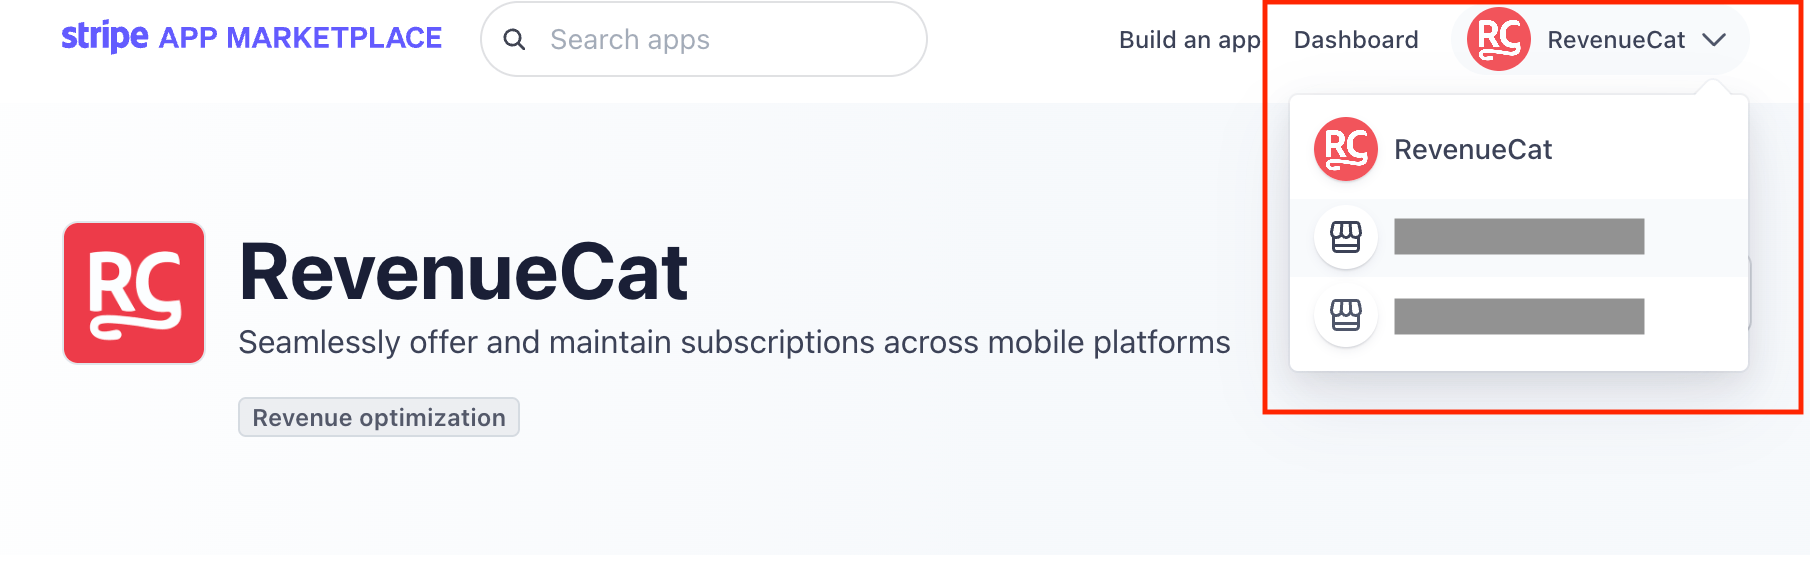
If you're connecting a Stripe Sandbox for testing, make sure you're logged into that. If you're connecting a live Stripe account, make sure this is currently selected in your Stripe account switcher.
Install the RevenueCat Stripe App from the Stripe App Marketplace
Log into the RevenueCat dashboard, go to your account settings and click the Connect Stripe button.
Again, make sure that the correct account is selected at the top right corner of the screen first.
Install the RevenueCat App and accept the required app permissions:
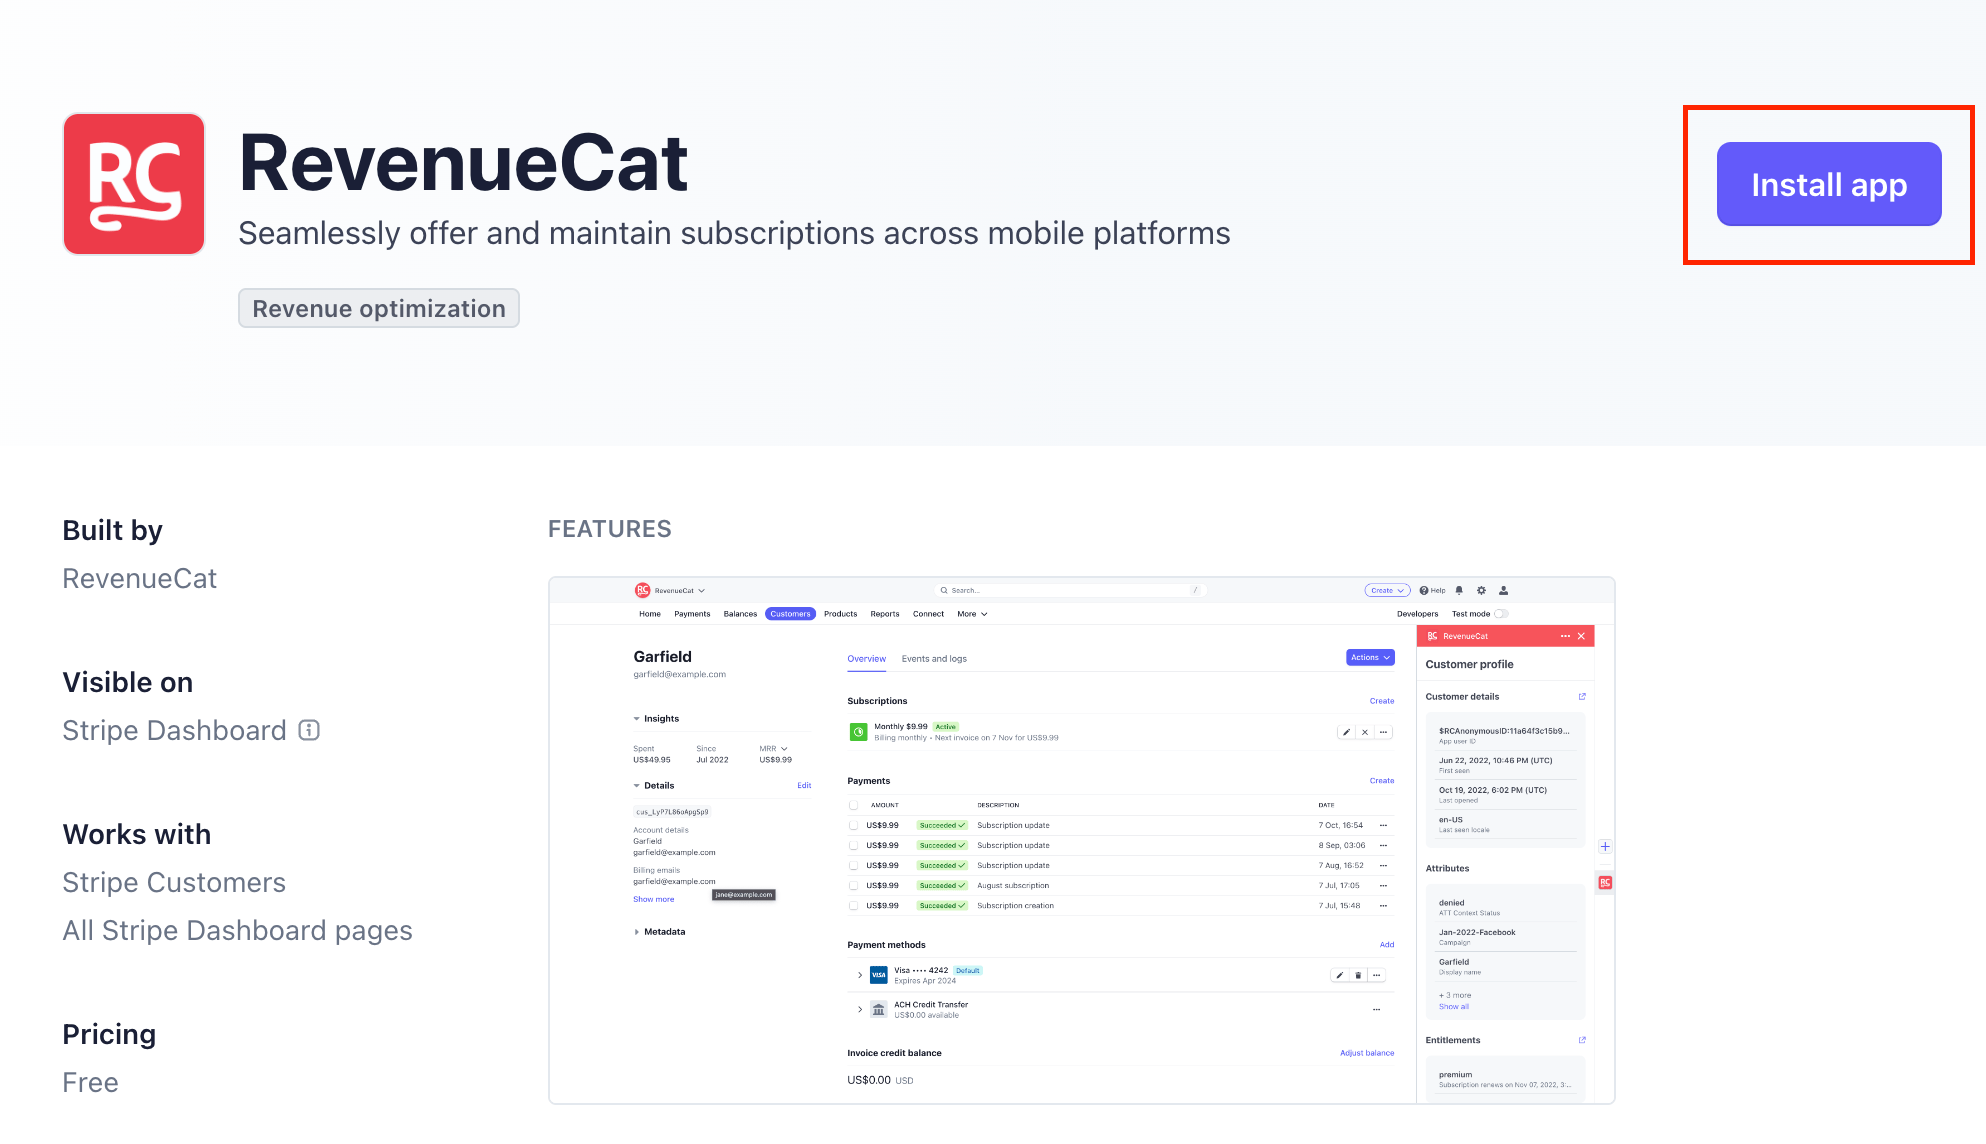
RevenueCat only requests the permissions from Stripe found here. These permissions are necessary for RevenueCat to interact with your Stripe account, track your purchases and initiate Stripe Billing purchases within our platform. If the RevenueCat Stripe App is uninstalled, all permissions are revoked and RevenueCat will no longer be able to interact with your Stripe account in any way.
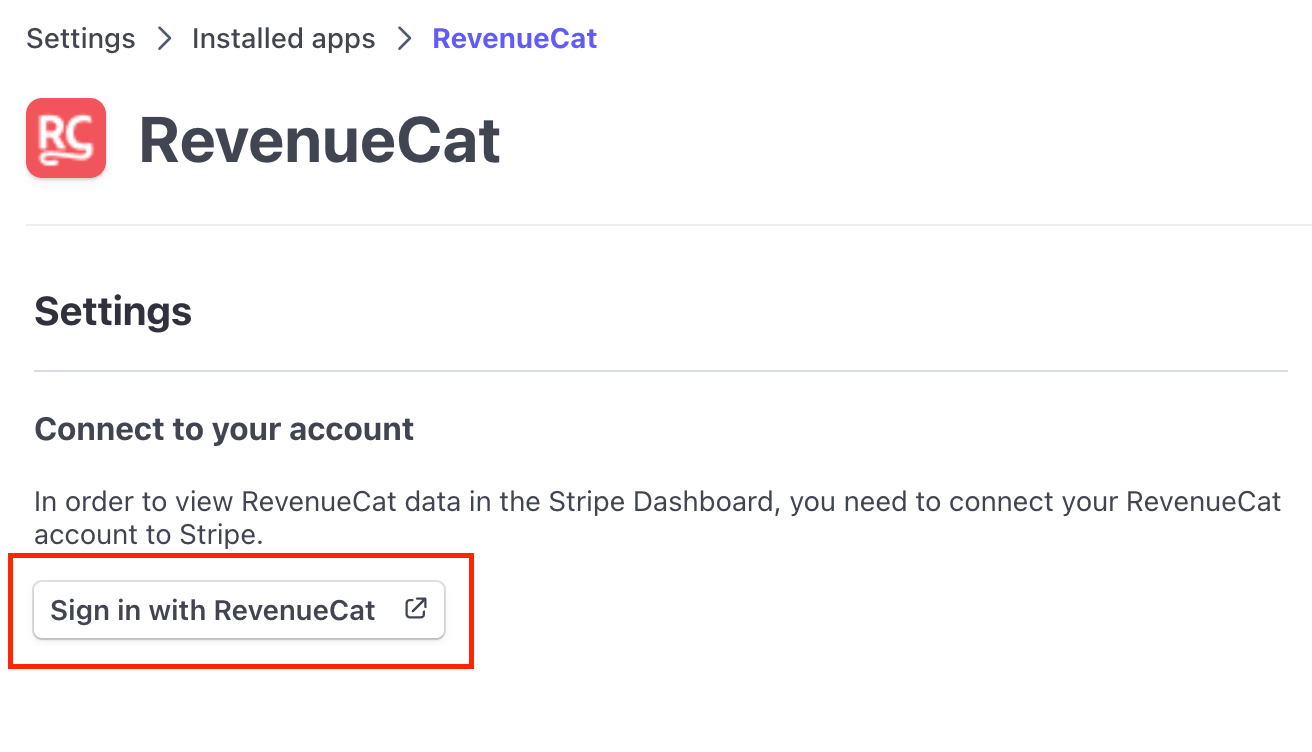
Connect your RevenueCat account to the RevenueCat Stripe app
Click on View Stripe app settings and sign in with RevenueCat, from within the Stripe App:
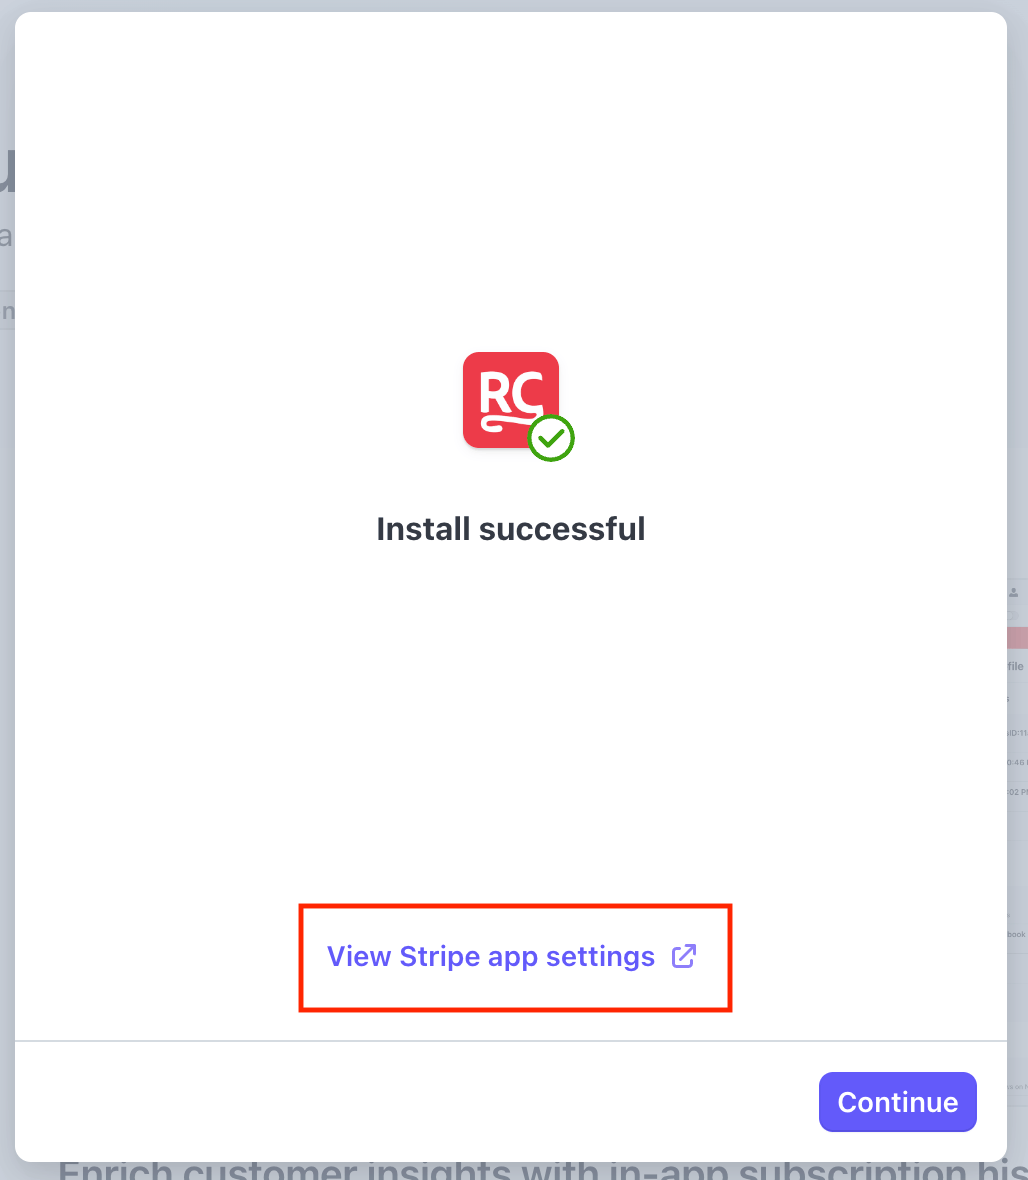
After this, the connected Stripe account should be listed in your RevenueCat account settings page (you may need to refresh the page):
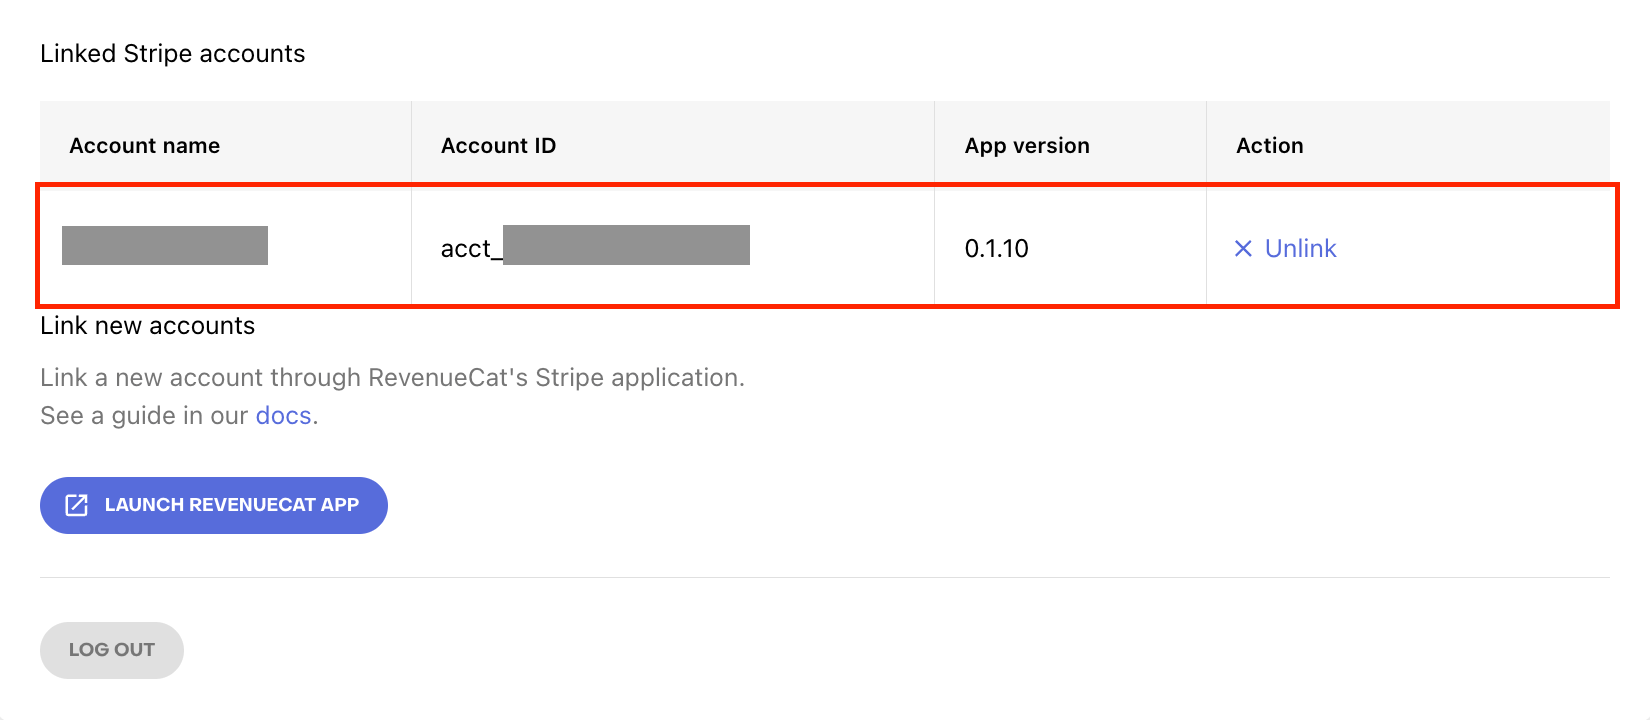
You can connect to multiple Stripe accounts by repeating the steps above. Make sure you are signed into the correct account in the Stripe dashboard each time. You can then assign different accounts to each of your Stripe configs in RevenueCat.
Working with Stripe Test Mode and Sandboxes
Stripe has two options for testing in a sandbox environment:
- Test Mode (Might not be available if your Stripe account hasn't completed onboarding for live transactions. Does not support Managed Payments.)
- Sandboxes (newer, function as isolated test accounts. Support Managed Payments.)
We recommend using Sandboxes for testing Stripe Billing purchases in RevenueCat. See Stripe's comparison for more details.
Stripe Sandboxes in RevenueCat
Since sandboxes function as standalone accounts, you'll need to install the RevenueCat Stripe app in each sandbox you wish to use, and create a dedicated config in RevenueCat.
To use a Stripe sandbox for testing:
- Switch to the sandbox you wish to connect to RevenueCat.
- Install the RevenueCat app from the Stripe Marketplace.
- Follow the remaining steps on this page to add a config and configure RevenueCat purchases.
- Connect your live account and create an additional Stripe config for it in the RevenueCat dashboard when transitioning to live purchases.
2. Create a Stripe config
After connecting your Stripe sandbox or live account, create a Stripe web config inside the RevenueCat project where you want to use Stripe.
- In your project, go to Web in the lower section of the project dashboard.
- Create a web config for Stripe.
- Enter a configuration name and select the Stripe account (either a sandbox or live account) you connected in the previous step.
Once created, the config has several tabs for further configuration:
Purchase tracking
The Use Managed Payments when Available toggle controls whether Stripe Checkout is initiated in Managed Payments mode across all purchase flows using this config — Funnels, Web Purchase Links, and the Web SDK. This can be enabled at creation or changed here later. If a product is not eligible for Managed Payments or the feature is not enabled on your Stripe account, the checkout will fall back to standard Stripe Billing mode. See Stripe Managed Payments.
This tab also contains External Purchase Tracking settings for importing purchases that happen outside of RevenueCat purchase flows. See Track External Purchases for details.
Redemption Links
Enable Redemption Links to allow anonymous purchases — users don't need a registered account to complete a purchase. You can configure a custom URL scheme in the mobile SDK to handle redeeming the purchase in your app after checkout. See Redemption Links for full details.
Appearance
Customize the look of purchase flows using this Stripe config, including app icon, logo, and brand colors. These settings also apply to the Stripe Checkout that is embedded in your purchase flows.
Subscription management
Configure the Stripe Customer Portal URL (or a custom URL) to direct customers to manage or cancel their subscriptions. This URL is returned in the managementUrl property of the SDK's CustomerInfo object and anywhere else customers should be directed to manage their purchases.
You can configure the Stripe Customer Portal in your Stripe dashboard settings.
Tax behavior
When RevenueCat reports revenue and tax figures for Stripe Billing transactions — in webhooks, scheduled exports, integrations, and the Revenue chart — it needs to know whether the listed product price is treated as already including tax or not. This is controlled by the configuration's tax behavior setting. It only affects how taxes are calculated and reported for revenue figures; it does not change the price your customer is charged at checkout.
| Configuration created | Default tax behavior |
|---|---|
| On or after May 1, 2026 | Tax-excluded — the listed price is treated as containing no tax. Revenue is reported at the full listed amount; tax_percentage is 0 unless Stripe provides a precise value via Stripe Tax. |
| Before May 1, 2026 (legacy) | Legacy behavior — RevenueCat estimates a tax portion within the listed price, and revenue figures are reduced accordingly. See How we estimate taxes for the underlying calculation. |
The customer-facing transaction price is the same under both behaviors. Only the breakdown between revenue and tax in RevenueCat's reporting changes.
Stripe Billing configurations created before May 1, 2026 keep the legacy behavior by default. To switch an existing configuration to tax-excluded, contact RevenueCat support. Switching changes the revenue and tax figures that RevenueCat reports for transactions on this configuration going forward, so review the impact on your dashboards, exports, and downstream integrations before opting in.
3. Create products and prices in Stripe
Create and manage your products directly in the Stripe dashboard.
Considerations:
- The product description field in Stripe will be displayed in the purchase flow, if you add it.
- We recommend adding a product image (e.g. your app icon), which is presented in Stripe's mobile-optimized checkout
In Stripe, a product can have multiple prices. Because a product in RevenueCat maps directly to a single Stripe product, only one price can be selected per product when importing. We recommend creating a single price per Stripe product to avoid ambiguity in your purchase flows.
Pricing model compatibility
These Stripe pricing models can be sold within RevenueCat Web purchase flows:
- Recurring - flat rate (e.g. $1.99 per month)
- One-off - flat rate (e.g. $23.99 paid once)
These pricing models are only supported when synced as external purchases:
- Recurring - package pricing (e.g. $5.99 per 10 units / month)
- One-off - package pricing (e.g. $30.00 per 12 units)
These pricing models are currently not supported in either mode:
- Recurring - tiered pricing (e.g. starts at $1.99 per unit + $5.00 / month)
- Recurring - usage based (e.g. $13.99 per unit / month - based on metered usage)
- One-off - customer chooses price
If you intend to use Stripe Managed Payments, ensure the product tax code selected in Stripe is compatible with Stripe Managed Payments. Products that don't meet this requirement will fall back to standard Stripe Billing checkout.
4. Import Stripe products into RevenueCat
Once your Stripe products and prices are set up, import them into your RevenueCat project via the Product Catalog.
- In the Product Catalog, navigate to Products and select the Stripe config you created.
- Click Import. RevenueCat will display all products available in your connected Stripe account.
- Check the products you want to import. If a product has more than one price, select which price to use in RevenueCat purchase flows.
- Click Import to confirm. Successfully imported products will appear with a Published status.
5. Create an Offering
With your Stripe products imported, create an Offering to group them for use in purchase flows.
- In the Product Catalog, go to Offerings and create a new Offering.
- Enter an identifier and display name.
- Create a Package for each product you want to present, and select the corresponding Stripe product from your Stripe config for each package.
Once your Offering has at least one package, it can be used in Web Purchase Links, Web Paywalls, Web Funnels, and the Web SDK.
6. Add payment domains to enable Apple Pay & Google Pay
RevenueCat automatically registers its hosted checkout domains (pay.rev.cat for Web Purchase Links and signup.cat for Funnels) with your Stripe account, so Apple Pay and Google Pay work out of the box on those domains. If you've configured a custom domain for Funnels, it is also auto-registered with Stripe once the domain is verified.
If you're initiating purchases with the Web SDK on your own domain, you'll need to register that domain yourself. Follow the steps here to add it in your Stripe account.
If Apple Pay or Google Pay don't appear in your checkout despite auto-registration, the RevenueCat app in your Stripe account may have pending permission updates that need to be approved. See Troubleshooting for details.
7. Use Stripe in RevenueCat purchase flows
Web Purchase Links
- Go to Funnels in the project dashboard, then use the Purchase Links section to create a web purchase link.
- Select the Offering and the Stripe config you created.
- Complete the remaining settings and publish the link.
Use the Sandbox or Production link depending on the type of Stripe account you've connected. Stripe Checkout is embedded directly inside the web purchase link.
Web Funnels
See detailed instructions on how to create Web Funnels.
- Go to Funnels in the project dashboard and create a funnel from scratch or from a template.
- Under Checkout Settings, select your Stripe config.
- For the Paywall step, select the Offering that contains your Stripe products.
After publishing the funnel, use the Sandbox or Production URL to test or deploy. Stripe Checkout is embedded in the Checkout step of the funnel.
Web SDK
When initializing a purchase via the Web SDK, use the Stripe config you created. Refer to the Web SDK documentation for implementation details.
8. Test your Stripe configuration
We recommend using Stripe Sandboxes for testing. Each sandbox connection requires a dedicated Stripe config in RevenueCat, with products imported and offerings configured.